Administration
Some hints about Ghiro administration.
Auto Upload
Auto Upload is a feature to automatically upload images written in a default directory; you can share the default directory over FTP, Samba (Windows shared folder) or other file sharing technologies, writing a file here you can simply launch a Ghiro analysis copying a file in a shared folder.
To configure Auto Upload you have to edit local_settings.py and configure:
- AUTO_UPLOAD_DIR to the directory you want to use for Ghiro Auto Upload
- (optional) AUTO_UPLOAD_DEL_ORIGINAL if you want to keep the original files (it is suggested to keep the default value, files will be deleted after being submitted to Ghiro)
- (optional) AUTO_UPLOAD_STARTUP_CLEANUP if you don’t want to clean AUTO_UPLOAD_DIR at startup (it is suggested to keep the default value, AUTO_UPLOAD_DIR will be cleaned up at startup)
After configuration, you have to start the directory monitoring with the following command:
python manage.py auto_upload
Now directory monitoring is running, a tree of folders related to cases will be created, for example:
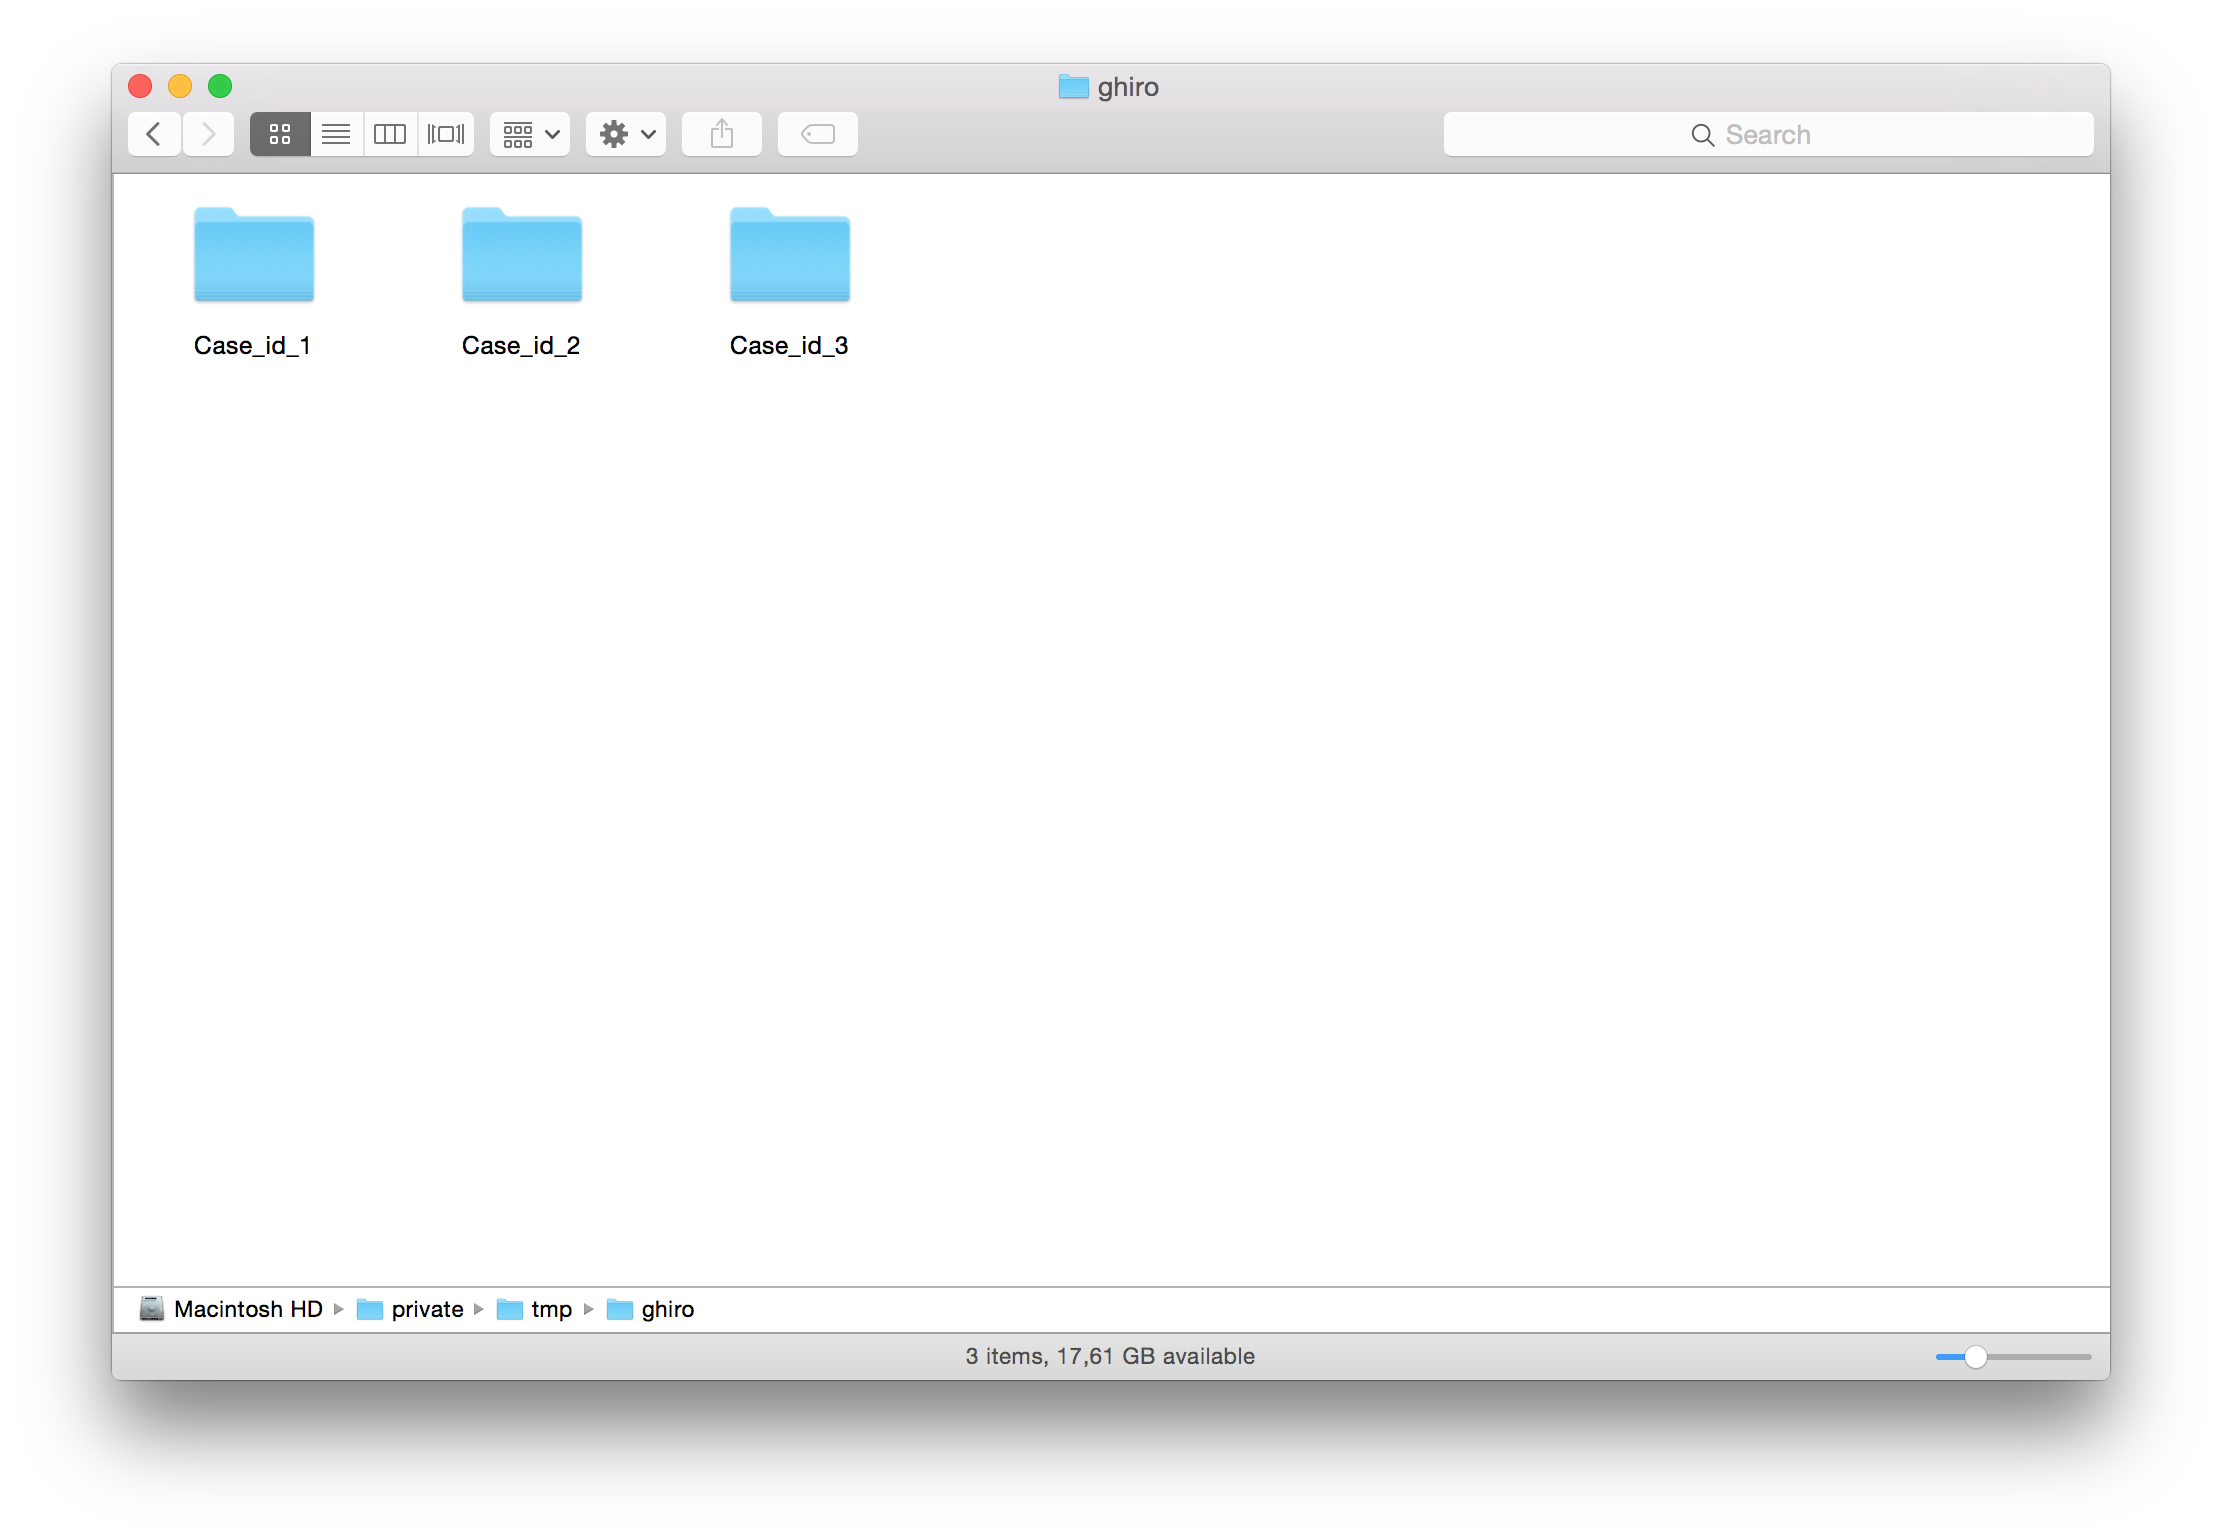
As you can see there are many folders, one for each case stored, with the case id in the folder name. You should only put the images you want to analyze in a case folder, ghiro will automatically process them, and remove the original file from disk.
This feature is designed to help in many situations:
- When you need to provide people an easy way to submit images to Ghiro, you could just setup a shared folder.
- If you need to analyze a large amount of data, you could submit with a copy files command.
Warning
Don’t use the Auto Upload directory configured in AUTO_UPLOAD_DIR as a permanent storage! Depending on the configuration, it will be cleaned up each time you run manage.py auto_upload. Auto Upload directory is designed as temporary storage to submit images only.
Run processor in debug mode
If you need to run the image processor daemon in debug mode with tracebacks enabled run the following command (inside Ghiro’s root):
python manage.py process --traceback
Create a superuser
If you need to create a new superuser from the command line (at least an user is mandatory to use Ghiro), run the following command (inside Ghiro’s root):
python manage.py createsuperuser
Upload images via command line utility
You can analyze images from command line with the submit utility. It can load and submit for analysis: an image, a folder containing images, a folder containing images and other folders, and recurse inside them.
If you want to add the image located at /target/image.jpg to case with id 2 and owner user name “foobar” run the following command (inside Ghiro’s root):
python manage.py submit -u foobar -c 2 -t /target/image.jpg
If you want to add all images in folder /target/images to case with id 2 and owner user name “foobar” run the following command (inside Ghiro’s root):
python manage.py submit -u foobar -c 2 -t /target/images
If you want to add all images in folder /target/images and all subfolders to case with id 2 and owner user name “foobar” run the following command (inside Ghiro’s root):
python manage.py submit -u foobar -c 2 -t /target/images -r
If you need to load tons of images this utility is designed for you, all images could be loaded in a single batch.
Check for updates
Ghiro automatically checks for new updates every day, if a new release is found a message is shown in the web interface (if you don’t disable the update check as described in this documentation). Anyway a command line command is available to manually check for updates:
python manage.py update_check
Updates are fetched once day, if you run the command two times the same day, a cached result will be used. If you want to force the update fetch every command you run, use the force option:
python manage.py update_check --force
Save all images
If you need to dump all images in Ghiro’s database, in their original format, to disk, you can save all to disk with:
python manage.py images_save_all -p /path/to/disk/
Auditing
Ghiro comes with an auditing feature enabled by default. The auditing support is designed to meet the requirements about logging, for example a law enforcement organization or forensics lab could require to have a track of who did what. The logs are stored in your local database and are written in the auditing log file (if you enabled logging on files). Auditing is logging the following information:
- Message describing event.
- Category of the event.
- User who requested the event.
- Client IP address.
- Timestamp.
If you want to disable auditing, set to false AUDITING_ENABLED inside local_settings.py as follows:
AUDITING_ENABLED = False
Auditing purge
Auditing logs are stored in Ghiro’s database. If you need to purge all audit trails, for example because you want to free some space, there is a management command for that:
$ python manage.py purge_auditing
Audit log purge
WARNING: this will permanently delete all your audit logs!
Do you want to continue? [y/n]y
Purging audit log... (it could take several minutes)
Done.
Warning
This command wil PERMANENTLY delete all audit data!